Tile Installation
BE PREPARED FOR INSTALLATION DAY.
Being prepared and involved will help ensure that the installation process is done smoothly and efficiently. Knowing what to expect will also be a lot less stressful on you, your family, and your home.
LET THE PROS DO THE WORK.
Installing this type of floor is difficult, labor intensive, and extremely exacting. We strongly recommend you hire a reliable, seasoned, dedicated professional to install your ceramic floor. That way you can be assured of a beautiful and correct installation. Installing a ceramic tire floor is a skill that is developed through years of experience.
THE SUBSTRATE IS WHERE IS ALL BEGINS.
Tile setting remains the same hand-operated, labor intensive process that it has always been since ancient times. The process begins with the preparation of the tile foundation, or the substrate. Common materials used as tile substrates in home installations include concrete, plywood, and drywall. The first step in your ceramic tile installation involves cleaning of the substrate. Dirt, moisture, and oil can interfere with the adhesion of the tile, so care is taken to remove all foreign debris prior to beginning.
Next installers will level the surface of the substrate. This will provide a strong support base for the tile and ensure that the individual tiles will appear flat when installed. If the substrate is not level, the result can be tiles not being set correctly. This can cause chipping or cracking when weight is applied.
Once the substrate has been leveled, it may have a waterproofing layer applied to it. This is important in installations where the tile is frequently exposed to moisture, like kitchens, bathrooms, and exteriors.
THE BEST LAID CERAMIC FLOORS ARE PLANNED.
Once the substrate has been prepared, the next step is to create a layout plan. This plan shows the dimensions of the room and will help determine the amount of ceramic tile and other materials needed for the installation. The installer will use this plan to determine the pattern and orientation of the installed tile. A chalk line is commonly used to lay down a guide for the installer.
APPLYING THE TILE.
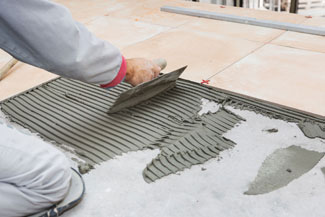
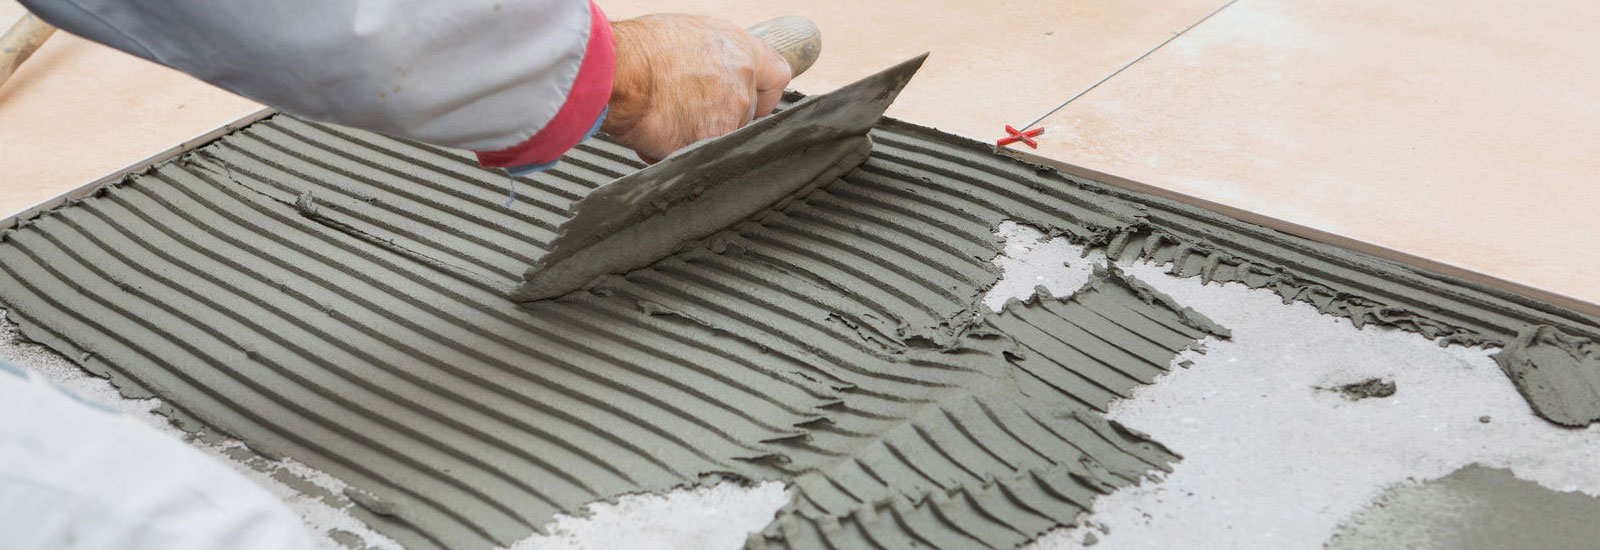
Today, most tile installers have moved from the thickset method of applying tile to a less labor-intensive process known as the thinset method. This method is more efficient. Tile is adhered directly onto a backer board that is nailed to a plywood or concrete substrate using a much thinner layer of mortar. This backer board is called a cement backer unit (or CBU) and it provides a supportive and water-resistant layer between the porous substrate and the mortal and the tile applied on top of it.
NEXT, GROUT COMES INTO PLAY.
Once the tiled floor has been set into place and left to fully cure, usually from 12-24 hours, the grout is applied. The mortar and grout need 24 hours to cure before walking on the tile. This ensures that the tiles won’t shift or become loose before the adhesive thinset mortar and grout have had a chance to set.
WHAT TO DO BEFORE INSTALLATION DAY.
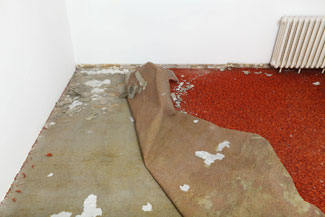
Remove all furniture and other objects from the area where the installation will take place. Be aware that the area of installation must be climate controlled. Indoor humidity should be maintained between 45-65%. Please consider how your old flooring will be taken up and disposed of. Remove all old floor covering at least one day prior to installation of your new floors. If removing old carpet, please leave tack strips in place and pull the staples out of the floor from the original pad. Prepare your existing subfloor or put in a new subfloor, if needed. Make sure the subfloor is as clean and level as possible.
WHAT TO DO ON INSTALLATION DAY.
Be prepared to be home on the day of your installation. Your installers will use a variety of tools and techniques that can make the work area hazardous, so make sure that children and pets are kept out of the work area on installation day. In some cases, moldings and baseboards need to be removed for installation. We recommend that prior to the completion of the installation, you do a walk-through with the chief installer. This will give you the opportunity to ask any questions and to be clear on any final details.
WHAT TO DO AFTER INSTALLATION DAY.
Good ventilation should be established for 48-72 hours after installation. Painted baseboards, woodwork, and paint may need retouching after the installation is complete. If necessary, this will be your responsibility. When your new floor is installed, there is always the possibility that the doors may not clear the new floor and swing freely. You may need to arrange for a qualified carpenter to help rehang or shave down your doors.
BE PREPARED FOR INSTALLATION DAY.
Being prepared and involved will help ensure that the installation process is done smoothly and efficiently. Knowing what to expect will also be a lot less stressful on you, your family, and your home.
LET THE PROS DO THE WORK.
Installing this type of floor is difficult, labor intensive, and extremely exacting. We strongly recommend you hire a reliable, seasoned, dedicated professional to install your ceramic floor. That way you can be assured of a beautiful and correct installation. Installing a ceramic tire floor is a skill that is developed through years of experience.
THE SUBSTRATE IS WHERE IS ALL BEGINS.
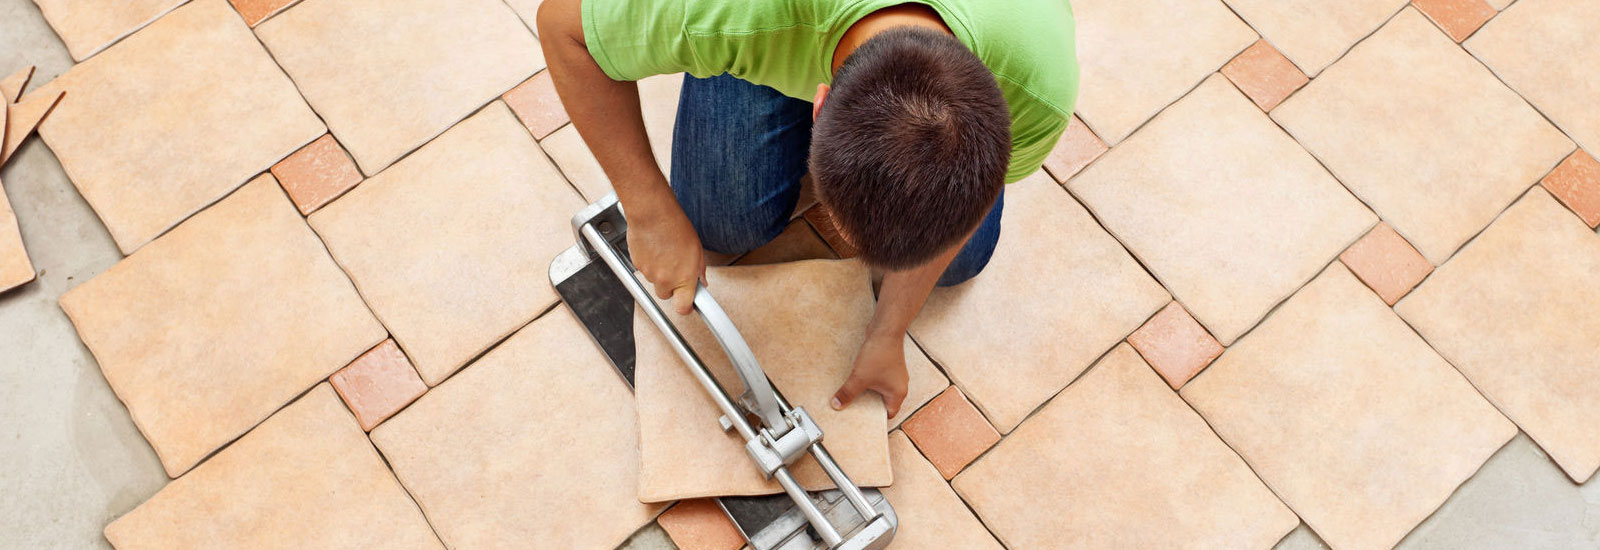
Tile setting remains the same hand-operated, labor intensive process that it has always been since ancient times. The process begins with the preparation of the tile foundation, or the substrate. Common materials used as tile substrates in home installations include concrete, plywood, and drywall. The first step in your ceramic tile installation involves cleaning of the substrate. Dirt, moisture, and oil can interfere with the adhesion of the tile, so care is taken to remove all foreign debris prior to beginning.
Next installers will level the surface of the substrate. This will provide a strong support base for the tile and ensure that the individual tiles will appear flat when installed. If the substrate is not level, the result can be tiles not being set correctly. This can cause chipping or cracking when weight is applied.
Once the substrate has been leveled, it may have a waterproofing layer applied to it. This is important in installations where the tile is frequently exposed to moisture, like kitchens, bathrooms, and exteriors.
THE BEST LAID CERAMIC FLOORS ARE PLANNED.
Once the substrate has been prepared, the next step is to create a layout plan. This plan shows the dimensions of the room and will help determine the amount of ceramic tile and other materials needed for the installation. The installer will use this plan to determine the pattern and orientation of the installed tile. A chalk line is commonly used to lay down a guide for the installer.
APPLYING THE TILE.
Today, most tile installers have moved from the thickset method of applying tile to a less labor-intensive process known as the thinset method. This method is more efficient. Tile is adhered directly onto a backer board that is nailed to a plywood or concrete substrate using a much thinner layer of mortar. This backer board is called a cement backer unit (or CBU) and it provides a supportive and water-resistant layer between the porous substrate and the mortal and the tile applied on top of it.
NEXT, GROUT COMES INTO PLAY.
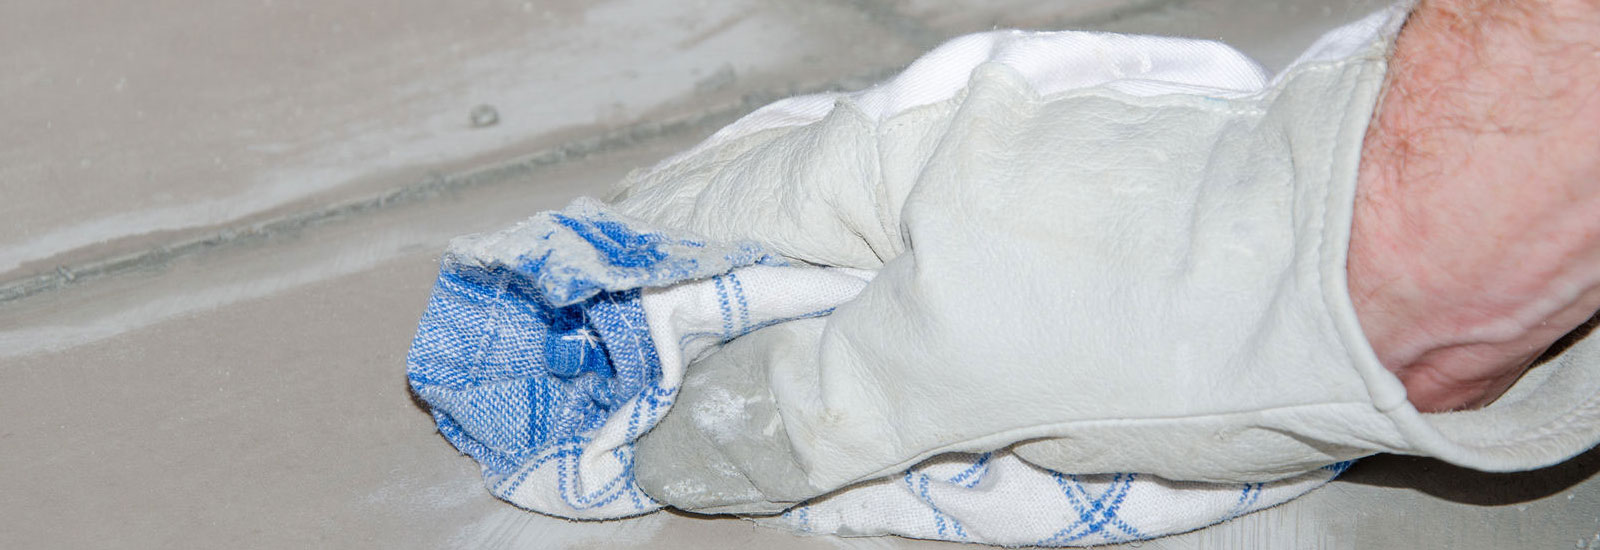
Once the tiled floor has been set into place and left to fully cure, usually from 12-24 hours, the grout is applied. The mortar and grout need 24 hours to cure before walking on the tile. This ensures that the tiles won’t shift or become loose before the adhesive thinset mortar and grout have had a chance to set.
WHAT TO DO BEFORE INSTALLATION DAY.
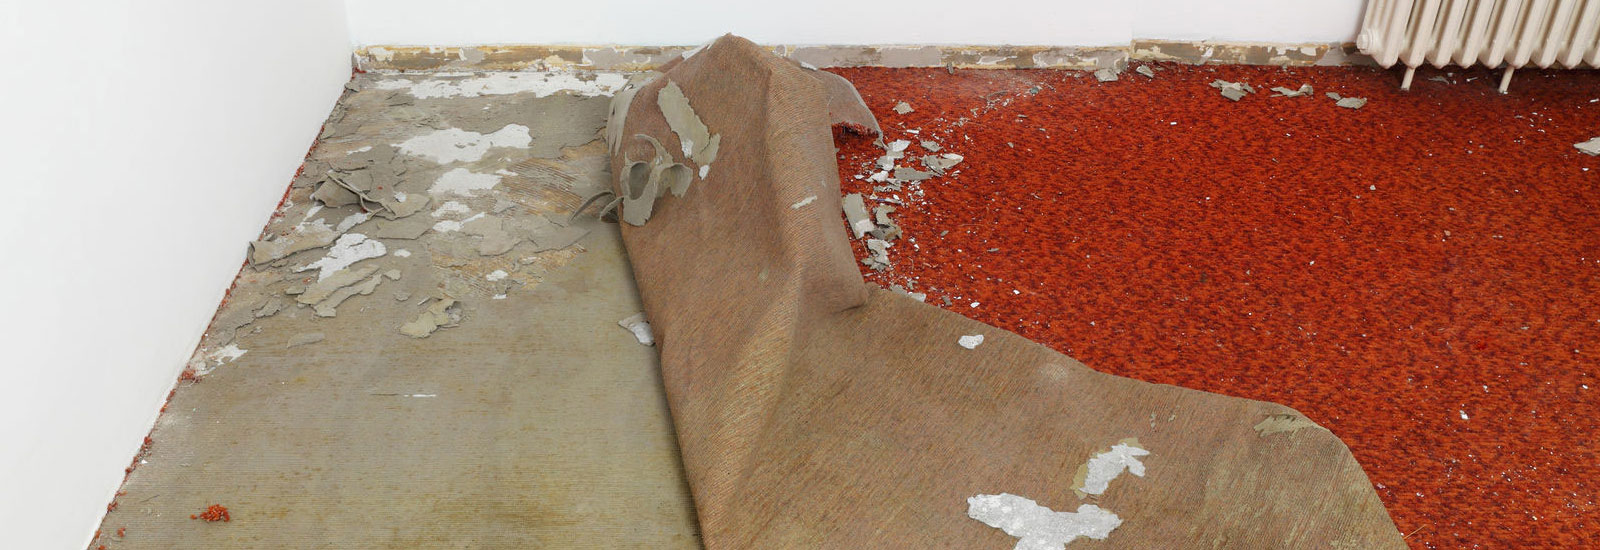
Remove all furniture and other objects from the area where the installation will take place. Be aware that the area of installation must be climate controlled. Indoor humidity should be maintained between 45-65%. Please consider how your old flooring will be taken up and disposed of. Remove all old floor covering at least one day prior to installation of your new floors. If removing old carpet, please leave tack strips in place and pull the staples out of the floor from the original pad. Prepare your existing subfloor or put in a new subfloor, if needed. Make sure the subfloor is as clean and level as possible.
WHAT TO DO ON INSTALLATION DAY.
Be prepared to be home on the day of your installation. Your installers will use a variety of tools and techniques that can make the work area hazardous, so make sure that children and pets are kept out of the work area on installation day. In some cases, moldings and baseboards need to be removed for installation. We recommend that prior to the completion of the installation, you do a walk-through with the chief installer. This will give you the opportunity to ask any questions and to be clear on any final details.
WHAT TO DO AFTER INSTALLATION DAY.
Good ventilation should be established for 48-72 hours after installation. Painted baseboards, woodwork, and paint may need retouching after the installation is complete. If necessary, this will be your responsibility. When your new floor is installed, there is always the possibility that the doors may not clear the new floor and swing freely. You may need to arrange for a qualified carpenter to help rehang or shave down your doors.


